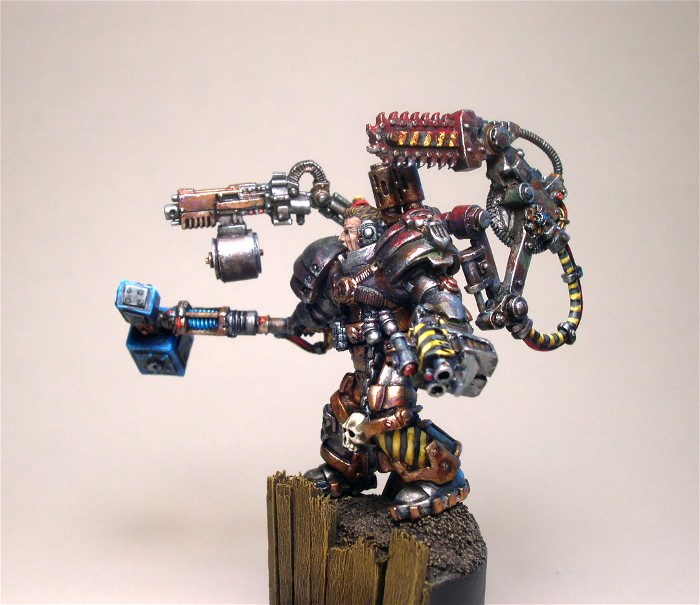
Over the past few years I’ve been doing a number of seminars locally and sitting at the Golden Demon Lounge at Games Workshop’s Gamesday Chicago event, which is back this year. One of the things I almost always discuss is, what in my opinion are the differences between high level army painting and one off display piece painting that you would do for say Games Workshop’s Golden Demon competition or Adepticon’s Crystal Brush. The vast majority of things you find on-line in tutorials are oriented towards that high level competition painting and not really towards painting high level armies. So with that said let’s talk about brushes, something that is shared by both:
Types of Brushes
Synthetic - typically Taklon brushes for this type. They are relatively cheap, great for doing the dirty work, I generally view them as a throw away brush. Numerous manufacturers make these, the ones I typically use are from American Painter, Loew Cornell, and recently Simply Simmons. Acrylic painting of miniatures, especially army painting, has the tendency to make the ends of these brushes curl, even if you properly maintain them. In army painting this is the workhorse brush, abuse it. When it can no longer be used for painting details use it for base coating. When it is past the point of being any good for base coating due to curling, bristle separation, or fouling at the ferrule, use if for drybrushing.
In the picture from top to bottom: American Painter 10/0 Spotter, American Painter 6 Shader, Artec Red Sable 2/0 Round, Loew Cornell 1 Round, and Simply Simmons 2 Round
 Sables
 – Red Sables are good quality brush for performing the finer work of painting details. Numerous manufacturers’, essentially a watercolor round brush. I look at these as an intermediate brush as they give better quality painting than the synthetics when comes to freehand detail, but not quite as good as the Kolinsky Sables. They cost a little bit more than the Synthetics. If properly maintained they will last a lot longer than the synthetics. Don’t abuse them. I’ve recently used a few synthetic and sable blends, some are very good, better than synthetics, but not as good as my sables.
Kolinsky Sables – This is the luxury brush, normally very expensive, not something that I typically recommend to army painters unless they are doing highly detailed line work. Take care of it, wash and clean it immediately after use. I have used some of these for over a decade with acrylic paints and India inks. I save these for the most delicate and intricate line work and details. They typically have a nice full body that comes to an extremely fine, sharp, flexible tip. Mostly I just use the round type brush. Raphael Series 8404 and Winsor & Newton Series 7, are the most popular. There is in my opinion a noticeable difference between them, don't let people sway you one way or the other. It’s about personal preference and comfort. I personally love the Raphael's and not the Winsor & Newton. I can't get the W&N's to work as well as the Raphael's, but I know others that swear by them. The Raphael brushes typically have a more flexible tip, in my opinion. Isabey also manufacturer's a high quality Kolinsky Sable, 6227Z Series, that is a bit cheaper than the Raphael and W&N brushes, the difference with Isabey's brushes are that their bodies for equivalent sizes are much smaller, but the points and quality are just as good.
In the picture from top to bottom: Simply Simmons 2 Round, Isabey 2 Round, Raphael 3/0 Round, Raphael 2 Round, Winsor & Newton 2 Round
 Brush Types & Sizes
Rounds - The workhorse brush for most miniatures. Sizes I typically use are 2, 1, 0, 2/0, 3/0. Typically, I will use the size 2 or 1 for base coating. When I start painting finer details I’ll use the size 1 or 0. 2/0 and 3/0 are quite small and I only use them for painting very fine details.
Shaders or Flats - The workhorse brush for models with large open surfaces. Shader Sizes I typically use are 4, 3, 2, and 1. For those of you painting Space Marines and tanks, these are a good time saver and will get rid of those nasty looking brush strokes. On Display bases and terrain I will use everything from a 2-inch to a 1-inch flat brush and the aforementioned size 4 thru 1 shaders.
Spotters – Usually a 5/0 or 10/0, special brush. Smaller is not always better for things. I don't recommend them. I've used them when I was first starting out think that they were the way to go to get really fine detail, and I was wrong. I have found that I get better results with smaller sables or better yet the Kolinsky sable that have the finest of points with an actual body that can hold paint. As you can see above, the spotter has no body to hold paint and is only good for, what else, spotting.
A Worn-out Tooth Brush or New One if you prefer
Want to get some really great looking, random, and semi-controlled splatter effects. Use a toothbrush. To do this simply dip the brush in some paint. Hold the brush next to your miniature and run a finger across the bristles in order to get them to flick the paint onto the miniature. Be careful to mask off things that you don’t want the effect to get onto.
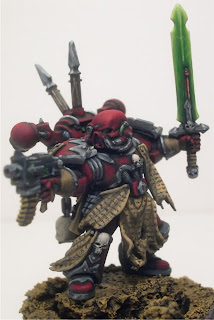
 The chain sword blade was done with toothbrush splatter.
 Not a Brush
Having problems painting eyeballs on a hundred plus figures? I know I do. I could use the Kolinsky and get some really great detail with it sharp point, but there is a better tool in my opinion for eyes. It is the Micron Pen with a 005 point (0.20mm tip). It will pass the eyeball test. It is also great for doing highly detailed script on your mini’s if say you are doing 40k Templars or Word Bearer space marines. Most hobby stores will carry them.


 Taking Care of Your Brushes
Generally, for the synthetics I don't even bother. I used to, but it doesn't seem to matter with them.
For the Sables and Kolinsky Sables that is different. As soon as I'm done with them, I will wash them. Pink Soap brush cleaner works good, but so does regular shampoo.